
Electric Tank Bag
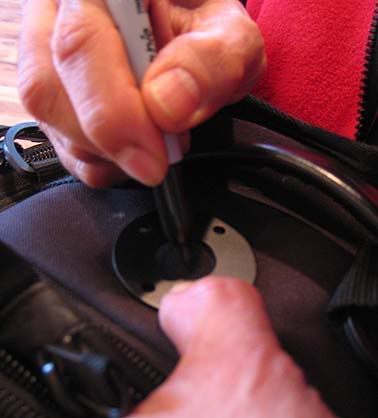
Step one is to figure out where you want to place the electric plug on your tank bag, then you mark the area.
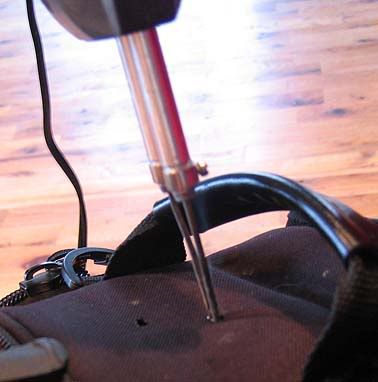
Make four holes in the fabric for the screw placements.
Soldering iron works really well for burning through nylon.
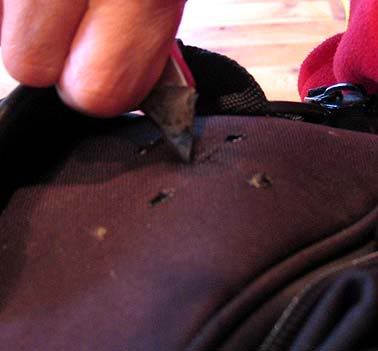
Cut a hole for the tank connector. Instead of trying to snip a circular hole with scissors, you can use a razor knife and cut a "X" then use the soldering iron to seal the nylon, so it won't fray. It also eliminates the need to add weather stripping, because the "X" cut seals around the connector acting like weather stripping.
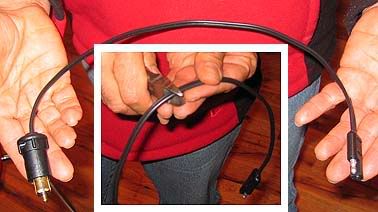
Make cable longer so it can reach the BMW plug on the Duc
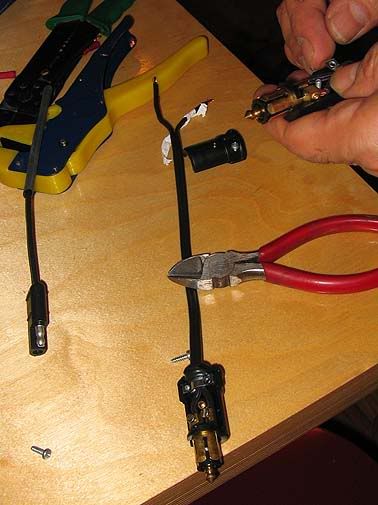

Stripping the wires
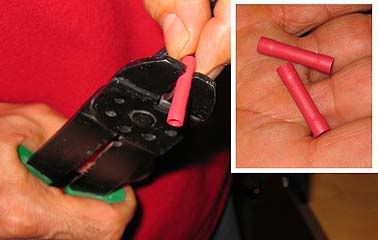
Purchased some more wire and used "butt splicers" to connect the pieces of wire, much easier than using a soldering iron. Cover joined pieces of wire with electric tape.
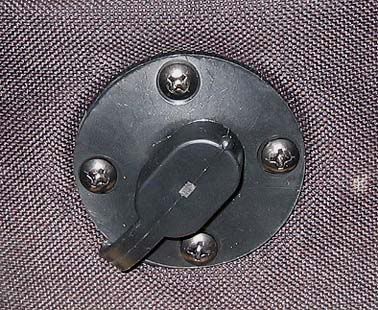
Tank bag connector "closed"
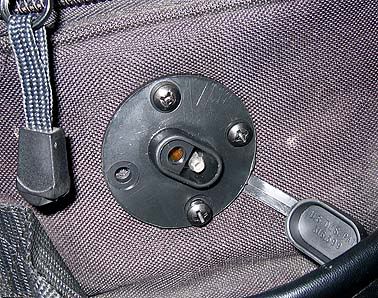
Tank bag connector "open"

Connector plugged in

Inside

Inside the bag SAE-PL Cigar Y Cable
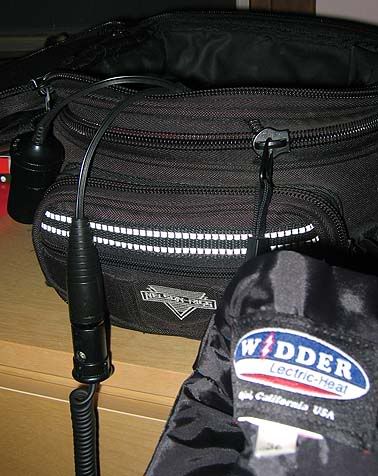
Widder lectric vest plugged in

IPod cigarette lighter adaptor plugged in
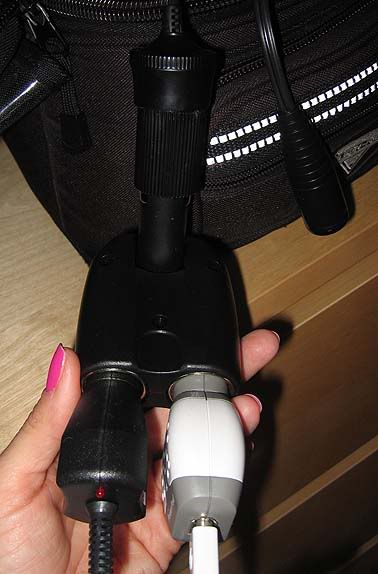
Bendable Splitter Jack Adaptor with IPod cigarette lighter adaptor plugged in and my cell phone cigarette lighter adaptor charger
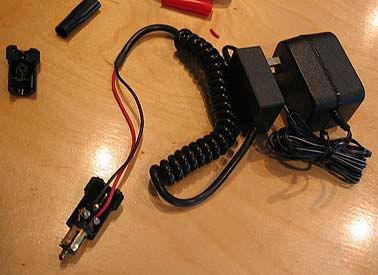
Battery Float Charger
modified with Powerlet Basic Plug
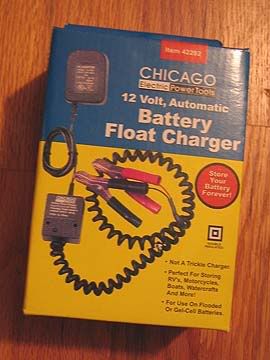
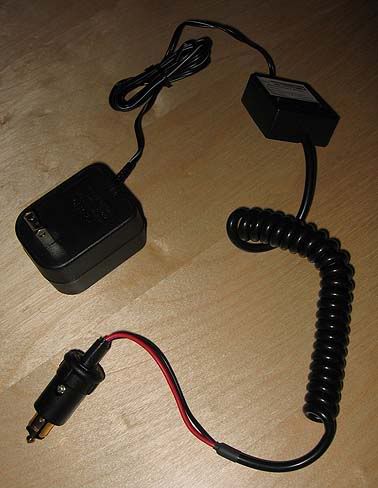
Float charger
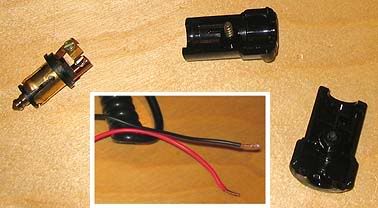
Take plug apart, remove clamps and strip wires
Assemble
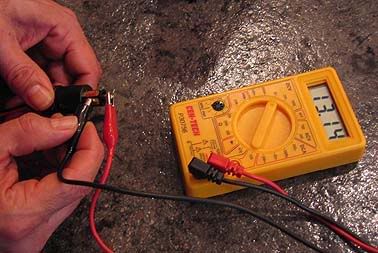
Check the polarity of the work with a meter when modifying any electrical components.

2 comments:
Thanks Rick for all the help. I'll include this info to my blog entry, it’s helpful stuff.
The fingers shown in these pics are certainly not as nice as the painted ones... Were they Rick's? ewwwwwww.
Post a Comment